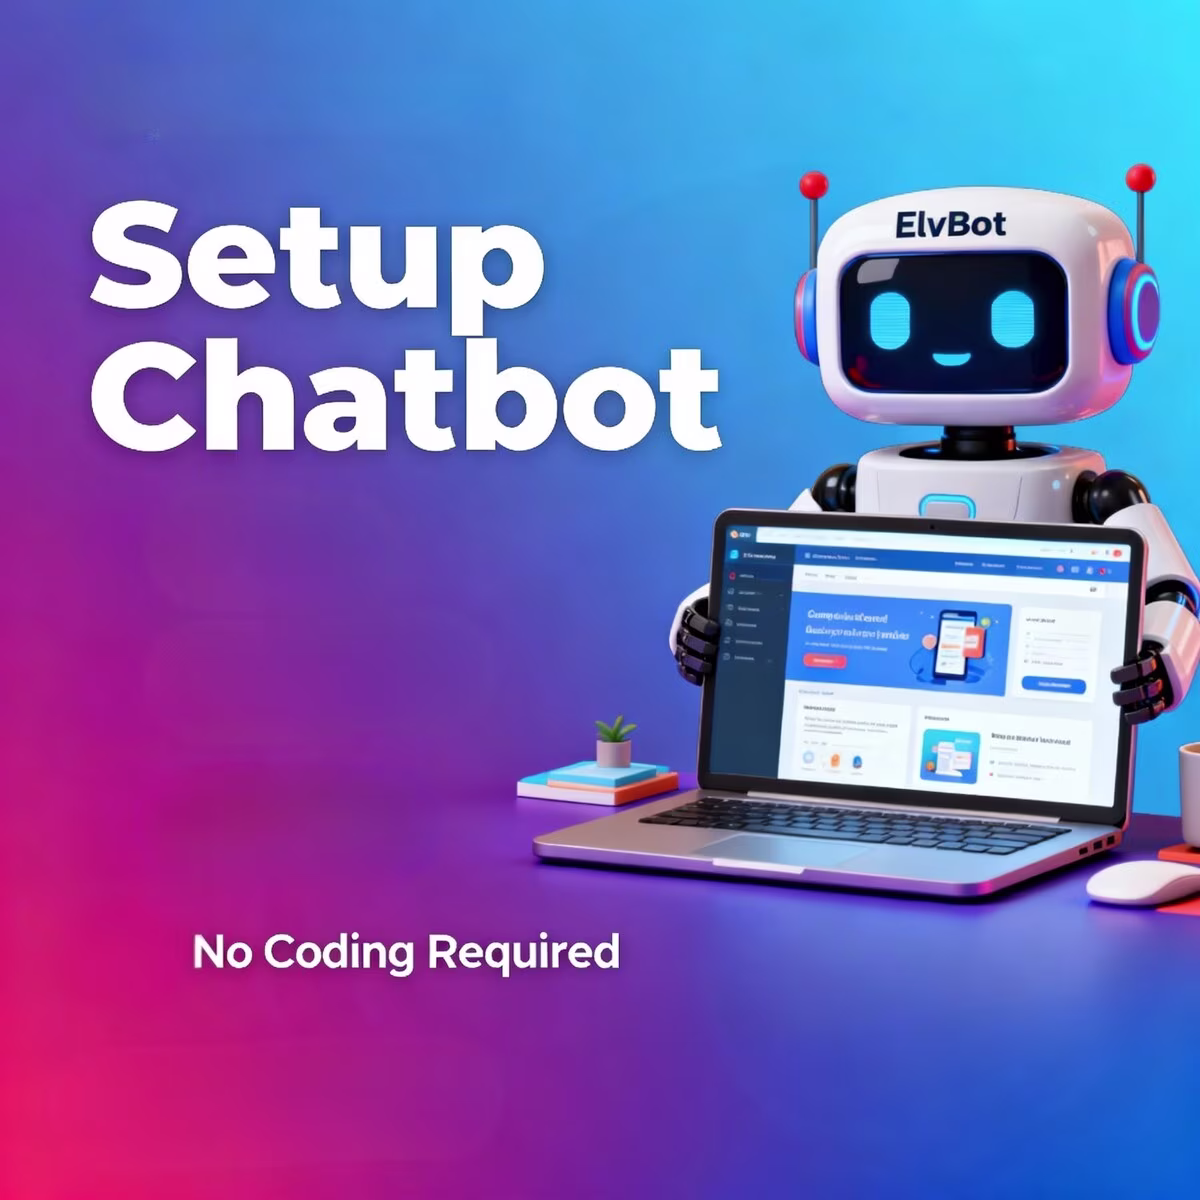
How to Set Up a Chatbot on Your Website in 5 Easy Steps
Setting up a chatbot on your website doesn’t have to be complicated. In fact, with the right approach, you can have a fully functional AI chatbot live on your site in less than an hour — even if you’ve never written a line of code.
In this guide, we’ll walk you through the exact process, step-by-step, so you can start capturing more leads, answering customer questions 24/7, and boosting your sales immediately.
📋 What You’ll Learn
🎯 Why Your Website Needs a Chatbot (Right Now)
Before we dive into the setup process, let’s quickly cover why adding a chatbot is one of the smartest business decisions you can make in 2025:
The Numbers Don’t Lie:
- 67% increase in website conversions on average
- 24/7 customer support without hiring additional staff
- 80% of routine questions answered automatically
- 3x faster response times compared to email
The reality: Your competitors are already using chatbots. Every minute you wait is a potential customer lost.
Now, let’s get your chatbot set up.
Define Your Chatbot’s Purpose
Before installing anything, you need clarity on what your chatbot will do.
Ask yourself these questions:
What’s Your Main Goal?
- Lead generation (capture emails, phone numbers)
- Customer support (answer FAQs automatically)
- Sales assistance (recommend products, upsell)
- Booking appointments or demos
- Qualifying leads before human handoff
Pro Tip: Start with ONE primary goal. You can always expand functionality later. A focused chatbot converts better than one trying to do everything.
Who Is Your Target Audience?
Understanding who will interact with your chatbot helps you design better conversations:
- Are they tech-savvy or beginners?
- What are their biggest pain points?
- What questions do they ask most often?
What Questions Will It Answer?
List your 10-15 most common customer questions. Examples:
- “What are your pricing plans?”
- “How long does setup take?”
- “Do you offer refunds?”
- “Can I see a demo?”
- “What’s included in the Pro plan?”
Quick Win: Check your email inbox or customer support tickets. The questions people ask there are exactly what your chatbot should answer.
Choose the Right Chatbot Solution
You have three main options:
Option A: Build It Yourself (Code Required)
Best for: Developers or businesses with technical teams
Tools: Python frameworks, Botpress, Rasa, Dialogflow
Reality Check: This takes weeks/months and requires ongoing maintenance. Only choose this if you have dedicated developers.
Option B: Use a Chatbot Builder Platform
Best for: Small-medium businesses without developers
Tools: ManyChat, Tidio, Chatfuel, Intercom
Pros:
- Drag-and-drop interface (no coding)
- Ready-made templates
- Quick setup (hours, not weeks)
Cons:
- Monthly subscription fees ($50-$200/month)
- Limited customization
- Can get expensive as you scale
Option C: Hire a Professional Service (Recommended)
Best for: Businesses wanting custom solutions without technical hassle
Example: ElevBot — custom chatbots built and delivered in 24-48 hours
Pros:
- Done-for-you solution (zero technical work)
- Custom-built for your specific business
- One-time payment (no recurring fees)
- Professional setup and optimization
Our Recommendation:
If you want results fast without technical headaches, go with Option C. If you’re on a tight budget and have time to learn, try Option B.
Set Up Your Chatbot
Once you’ve chosen your solution, here’s how to configure it:
A. Create Your Chatbot Account
If using a platform (Option B):
- Sign up for your chosen platform
- Create a new chatbot project
- Give it a name (internal use only)
If using a service like ElevBot (Option C):
- Place your order
- Provide your business details and FAQ list
- Wait 24-48 hours for delivery
B. Design Your Welcome Message
This is the first thing visitors see. Make it count!
“Hello.”
✅ Good Example:
“Hi! 👋 I’m here to help you find the perfect solution for your business. What can I assist you with today?”
[Button: Pricing] [Button: Features] [Button: Talk to Sales]
C. Build Conversation Flows
Map out how your chatbot responds to different questions:
1. Visitor: “What’s your pricing?”
2. Bot: “We offer two plans: Standard ($37) and Pro ($57). Which interests you?”
3. Visitor: “What’s the difference?”
4. Bot: “Standard includes [features]. Pro adds [extra features]. Ready to get started?”
5. [Button: Choose Standard] [Button: Choose Pro] [Button: Talk to Sales]
D. Add Quick Reply Buttons
Buttons make conversations faster and increase engagement by 35%.
Good button examples:
- “Show me pricing”
- “Book a demo”
- “Talk to sales”
- “See examples”
- “Get started”
E. Set Up Human Handoff
Your chatbot should know when to escalate to a human:
- Customer asks something outside its knowledge
- Customer expresses frustration
- Customer is ready to buy (hot lead!)
- After 3-4 back-and-forths without resolution
Important: Always give customers the option to talk to a human. It builds trust and catches issues your bot might miss.
Add the Chatbot to Your Website
This is where your chatbot goes live. Don’t worry — it’s easier than you think!
Method 1: Copy-Paste Code (Most Common)
Most chatbot platforms give you a snippet of code to add to your website.
Step-by-step:
- Log into your chatbot platform
- Go to “Install” or “Embed” section
- Copy the JavaScript code provided
- Paste it into your website’s HTML (just before the closing
</body>tag)
<script>
window.chatbotConfig = {
botId: “your-bot-id”,
position: “bottom-right”
};
</script>
<script src=”https://chatbot.com/widget.js”></script>
Method 2: WordPress Plugin
If you’re using WordPress, many chatbot platforms offer plugins:
- Go to WordPress Dashboard → Plugins → Add New
- Search for your chatbot platform (e.g., “Tidio,” “ManyChat”)
- Install and activate
- Connect your chatbot account
- Done! ✅
Method 3: Website Builder Integration
For Shopify, Wix, Squarespace, or Webflow:
- Go to your builder’s app store/integrations
- Search for your chatbot platform
- Click “Add” or “Install”
- Follow the setup wizard
Pro Service: If you use ElevBot, we handle the entire installation for you. Just provide website access, and we’ll have it live in 24 hours.
Where Should Your Chatbot Appear?
Best practice: Bottom-right corner (most common and expected)
Chatbot visibility options:
- Every page (recommended for lead generation)
- Specific pages only (pricing, contact, product pages)
- Delayed appearance (show after 10-30 seconds to avoid being intrusive)
Test, Launch, and Optimize
Never launch without testing! Here’s your pre-launch checklist:
A. Test Everything
- Test on desktop and mobile
- Try all conversation paths
- Check button clicks work correctly
- Verify handoff to human works
- Ensure chatbot appears on all intended pages
- Test loading speed (chatbot shouldn’t slow down your site)
B. Get Feedback
Before going fully live:
- Ask 3-5 colleagues or friends to test it
- Watch how they interact with the bot
- Note where they get stuck or confused
- Fix issues before launch
C. Launch Gradually
Start with a soft launch:
- Week 1: Show chatbot on one page (e.g., pricing)
- Week 2: Expand to more pages
- Week 3: Enable on entire website
Why gradual? Gives you time to fix issues and refine responses based on real user interactions.
D. Track Key Metrics
Monitor these numbers weekly:
- Engagement rate: What % of visitors interact with your chatbot?
- Conversation completion rate: How many conversations reach a resolution?
- Lead capture rate: How many leads does your chatbot generate?
- Handoff rate: How often does it escalate to humans?
- Customer satisfaction: Are people happy with the bot’s responses?
Goal Benchmarks:
- Engagement rate: 15-30%
- Completion rate: 70%+
- Lead capture: 10-20% of conversations
E. Optimize Based on Data
Every 2 weeks:
- Review conversation transcripts
- Identify common questions the bot can’t answer
- Add new responses
- Refine unclear messages
- Test new conversation paths
Remember: Your chatbot should improve every week. The more data you collect, the better it performs.
⚡ Skip the Setup — Get a Custom Chatbot in 24 Hours
Don’t want to deal with technical setup, testing, and optimization?
ElevBot builds custom, conversion-optimized chatbots for your business — delivered in 24-48 hours.
No coding. No monthly fees. Just results.
Get Your Custom ChatbotStarting at $37 (Standard) • $57 (Pro)
🎯 Final Thoughts & Your Next Step
Setting up a chatbot on your website is one of the fastest ways to increase conversions, capture more leads, and improve customer experience — without hiring additional staff or working longer hours.
The five steps we covered:
- Define your chatbot’s purpose
- Choose the right solution
- Set up your chatbot
- Add it to your website
- Test, launch, and optimize
Your Action Plan:
If you’re building it yourself, start with Step 1 today. If you want it done professionally in 24 hours, order from ElevBot and skip straight to results.
The bottom line: Every day without a chatbot is a lost opportunity. Your competitors already have one. Now it’s your turn.
📊 Key Takeaways:
- Chatbots boost conversions by up to 67% on average
- You don’t need coding skills to set up a chatbot
- Start with ONE clear goal (lead generation, support, or sales)
- Test thoroughly before launching to all visitors
- Monitor metrics weekly and optimize based on real data
- Gradual rollout reduces risk and improves performance
- Human handoff is critical for complex questions and hot leads
- Professional services like ElevBot handle everything for you